A greener lab footprint
As I enter the final year of my PhD, I’ve had a chance to reflect on some of the bad lab habits I’ve picked up and gotten rid of. My research has been focused on sustainability for almost 4 years now, and by far my biggest carbon footprint has been my labwork. At first, I justified this with the ‘you have to break a few eggs’ attitude – “it doesn’t matter if I use a box full of pipette tips every day, my research is helping the environment!” – but I’ve come to realise that cutting down how much energy and plastic I use in the lab is actually a lot easier than naïve first-year me would have thought.
The average lab uses about 10 times more energy than the average house per square metre in a year. That means that at my little bench, I’m probably using as much energy as I use for the whole of my home! Looking into ways to cut this down became a top priority. At first I was met with a mountain of information on how to build an energy efficient lab, but there wasn’t a whole lot out there on what I, as a researcher, could do differently. So it’s time to change that.
I’ve sifted through a lot of info on the subject and found some really simple ways that I (and you, too!) can be more environmentally friendly and bring sustainability to any lab, even those that weren’t built for it. It doesn’t matter if you’re in a state of the art brand new facility, or an old draughty Victorian building that was converted to a lab in the late '50s, these 7 top tips will reduce your lab’s energy usage. And who knows, your supervisor might even thank you for saving a little on the bill!
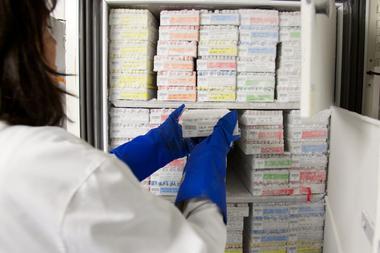
I mentioned in the introduction that a lab uses about 10 times as much energy as a house. The -80ºC freezer accounts for 10% of that – in other words, your super cold long-term storage uses as much energy as a house does, every single day. Every time you open the door and put something in, that cold air flies out and has to be cooled back down to 80 below 0 – and if you just put something in then that has to be cooled down too! The cardinal sin with these machines is leaving the door open: this not only causes the whole freezer to warm up and have to be cooled again, but puts a huge strain on the machine, meaning it’s more likely to break and need replacing – with the disposal of refrigeration units taking a huge toll on the environment as a bonus cost.
What do you keep in the -80? When I first started out, I was keeping cell pellets for protein expression in there for over a year before someone told me not to. It was just what I thought I was supposed to do. Have a quick think before you open that door: “does this really need to go in here?” – being a little critical of each step the first time you do something can help in the long run, and even save you from a case of accidental freezer burn!
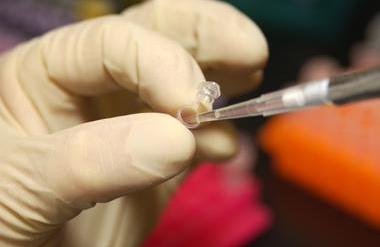
How many gloves have you used so far in your PhD/post-doc/placement/etc.? How many pipette tips? I’d wager you’ve lost count, because I certainly have. Throwing away your gloves after every use quickly becomes second nature, but if – crucially – you haven’t been using them for anything hazardous, and nothing has been spilt on them, is there a real reason not to re-use them?
It’s very difficult to cut down on pipette tip usage, but there’s a couple of things to bear in mind when planning and doing an experiment. Think: do I really need to use a new tip for this step? It’s very common to change tips between every step of a protocol, but quite often if you’re pipetting sterile water you needn’t worry about changing the tip. When planning your experiment, think about whether cross contamination is really an issue. A lot of my stocks and buffers I make fresh on the day, it doesn’t hugely matter if I get a tiny bit of media in my glucose stock because I’ve only made enough stock for this experiment anyway! And finally, I always inoculate my bacteria last. This is good lab practise when mixing fresh media because it gives the bacteria the best chance to survive, but has the added value of meaning you’re much less likely to contaminate your media stocks and needing to make them up fresh, and re-sterilising them. Which brings me on to…
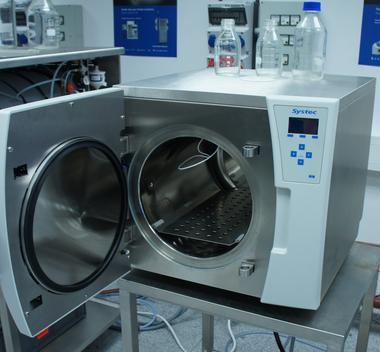
Every time you throw something in the autoclave bin, it has to be autoclaved. This is a bit like saying the sky is blue, but we seldom think about what autoclaving really means: raising a large steel vat with water and whatever you’re sterilising to 121ºC, holding it there, then letting it cool down. Think back to the -80ºC freezer: if you wouldn’t put something in the freezer unnecessarily, you needn’t be putting something in the autoclave unnecessarily. When throwing gloves, or pipette tips, or falcon tubes or any waste away, take a pause to consider if it needs autoclaving. I’ve worked in departments that vastly differ on their policy for what waste needs to be autoclaved, so I’ll end with the disclaimer that you should work within your department’s health and safety guidelines.
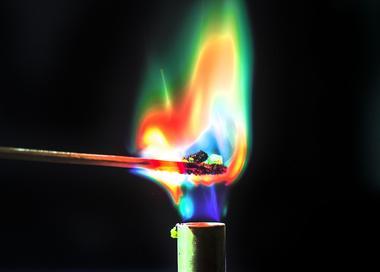
Looking at a lab full of Bunsen burners is one of the easiest places you can cut down on a carbon footprint. In actuality, it might not be that simple. A Bunsen burner actually uses a fraction of the natural gas that a standard gas hob uses, but there are still ways to improve. Firstly – and this tip goes especially for new starters – consider what you’re using a Bunsen for. If you’re not going to put whatever you’re working with into an incubator, you probably don’t need a Bunsen, even if you’re working with a growth culture to do something like a mini-prep or protein extraction. Another option that I’m particularly fond of is to consider something like a foot-pedal Bunsen. This isn’t suitable for a lot of applications, but if it can work for you it can really save on natural gas usage. Finally, if available, a laminar flow hood actually uses less energy per hour than a small Bunsen burner, so consider using one if your lab has any, especially for prolonged work.
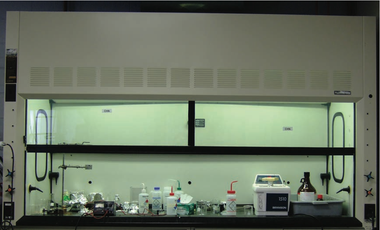
Speaking of laminar flow hoods, and fume hoods in general, a huge amount of energy in a lab is dedicated to maintaining the air flow. As much as three and a half times a household’s energy usage is used by a fume hood to move the enormous volumes of air that must be managed when the hood is active. This number goes up when the sash is open, as the pressure is reduced so more energy is needed to pull air through at the same rate. In fact, it’s estimated that the difference between leaving the sash open and shut is around 40% of the energy usage. It’s easy to remember but so often forgotten: if you’re not in the hood, close the sash.
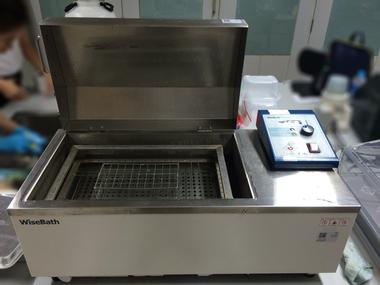
When researching for this article, I was surprised to find that there is considerable debate about whether a water bath or a heat block is more energy-efficient. With such a broad variety of these devices on the market, it can be really difficult to find a consensus. Both products have similar power consumption. Both heat up to (and maintain) a steady temperature for a prolonged period of time. Water baths are argued to lose more energy to their environment, but with the simple addition of a lid, this can be circumvented – yet the same argument is often made for modern heat blocks. In reality, it’s going to come down to usage.
If you’re the only person in the lab, you’ll end up being better off with a heat block – it heats up quicker which means less energy usage over time. At the other end of the scale, if there are 20 people in your lab all trying to get their restriction digests on, you’re probably going to want to look at a water bath. A water bath tends to be able to accommodate more tubes and that means your efficiency is going up, and you’re not worrying about constantly cooling and reheating if it’s in constant use. The real debate falls in the middle ground. I can’t say for sure where the threshold of “switch to a water bath” is, but the key to this tip is to work together with your labspace.
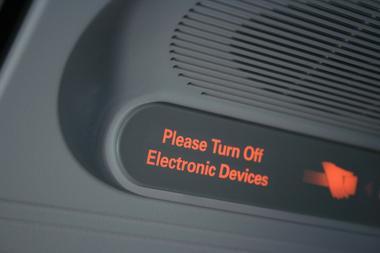
Turn it off when you’re done with it! This point might seem obvious, but it’s especially important to iterate in a lab environment. The other morning, I walked into the lab and someone had left the centrifuge on overnight. “No big deal, right? It wasn’t spinning or anything!” – well, no, it hadn’t started it’s spin, but it was left cooling to 4ºC with the lid open all night. Imagine the energy bill you’d have after leaving the fridge door open all night! OK, maybe that was a bit of a personal rant, but it makes my point: often in a lab setting the lights are left on, machines are left running, computers are left booted up, and so on. In this case, every little helps. A great case study from Harvard showed that just putting signs up reminding people to turn off machines after they were done with them cut down energy usage by 51%. For some machines – notably the thermocycler and centrifuges – this reduction in energy usage was as much as 70%.

That 51%, according to the case study, should be an easy and attainable target for any lab willing to participate. I think with these 7 tips, which really make very little impact on your day to day operations, we can easily cut down our energy usage, stamp down our carbon footprints, and carry out our research in a manner that’s a little easier on our planet.
Robert G. Millar
University of Warwick